[1] Introduction to RAG for beginners
Mayank Pratap Singh
@Mayank Pratap Singh
![[1] Introduction to RAG for beginners](/_next/image?url=%2Fimages%2Fblog%2FRAG%2F6.gif&w=1920&q=75)
Table of Contents
- Why Vanilla LLMs Fall Short?
- What is RAG?
- RAG Architecture
-
- Indexing
-
- Retrieval
-
- Generation
-
-
- Indexing
-
- Retrieval
-
- Generation
- RAG Pipeline using LangChain
- What Exactly is LangChain and Why Every Developer Loves It
- Step 1. Install Required Python Libraries
- Step 2. Set Up Qdrant Using Docker
- Step 3. Load and Split Multiple PDF Files
- Step 4. Generate Embeddings Using OpenAI
- Step 5. Store Embeddings in Qdrant (Vector DB)
- Step 6. Search for Relevant Chunks (Retrieval)
- What Exactly is LangChain and Why Every Developer Loves It
- Final Thoughts
EduLeap, a rising EdTech startup, had a dream that is to build a smart study assistant capable of helping students 24/7.
But their first attempt using a vanilla LLM was a disaster.

The AI hallucinated, gave outdated information, and couldn’t answer specific course queries
That’s when they discovered Basic RAG (Retrieval-Augmented Generation).
Problem: Vanilla LLMs only use pre-training data and can’t access specific documents or recent knowledge. When a student asked, "What is the difference between tuple and list in Python?", the model replied with half-truths.
Why Vanilla LLMs Fall Short?
LLMs are trained on general-purpose internet data. They lack:
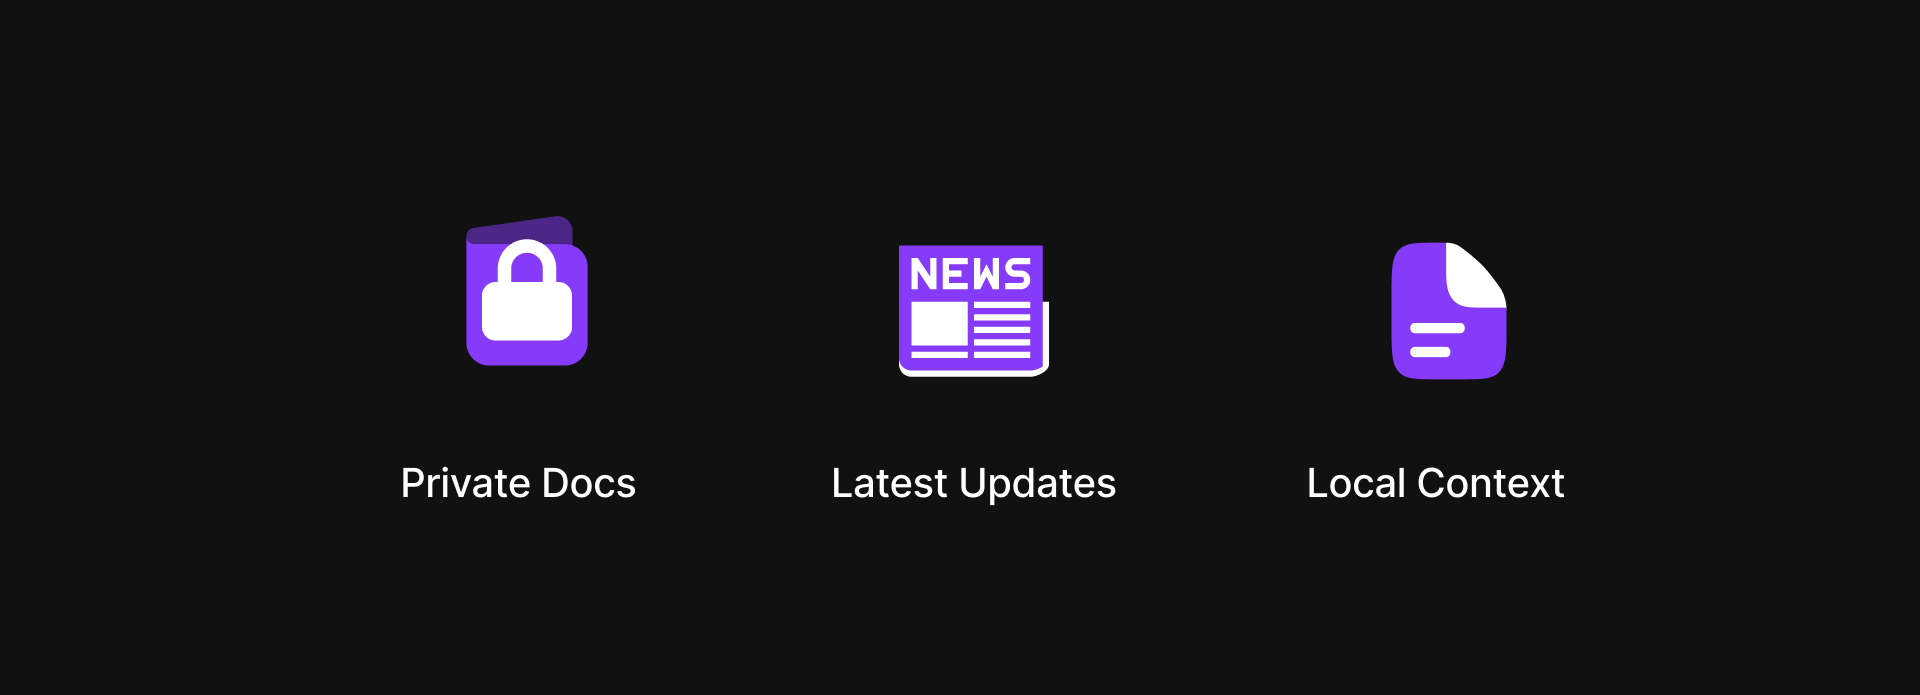
- Access to private documents (e.g., lecture PDFs, assignments)
- Awareness of latest updates
- Ability to reason from local context
Even fine-tuning can’t solve everything. It’s expensive, time-consuming, and inflexible.
EduLeap needed a smarter solution — RAG.
What is RAG ?
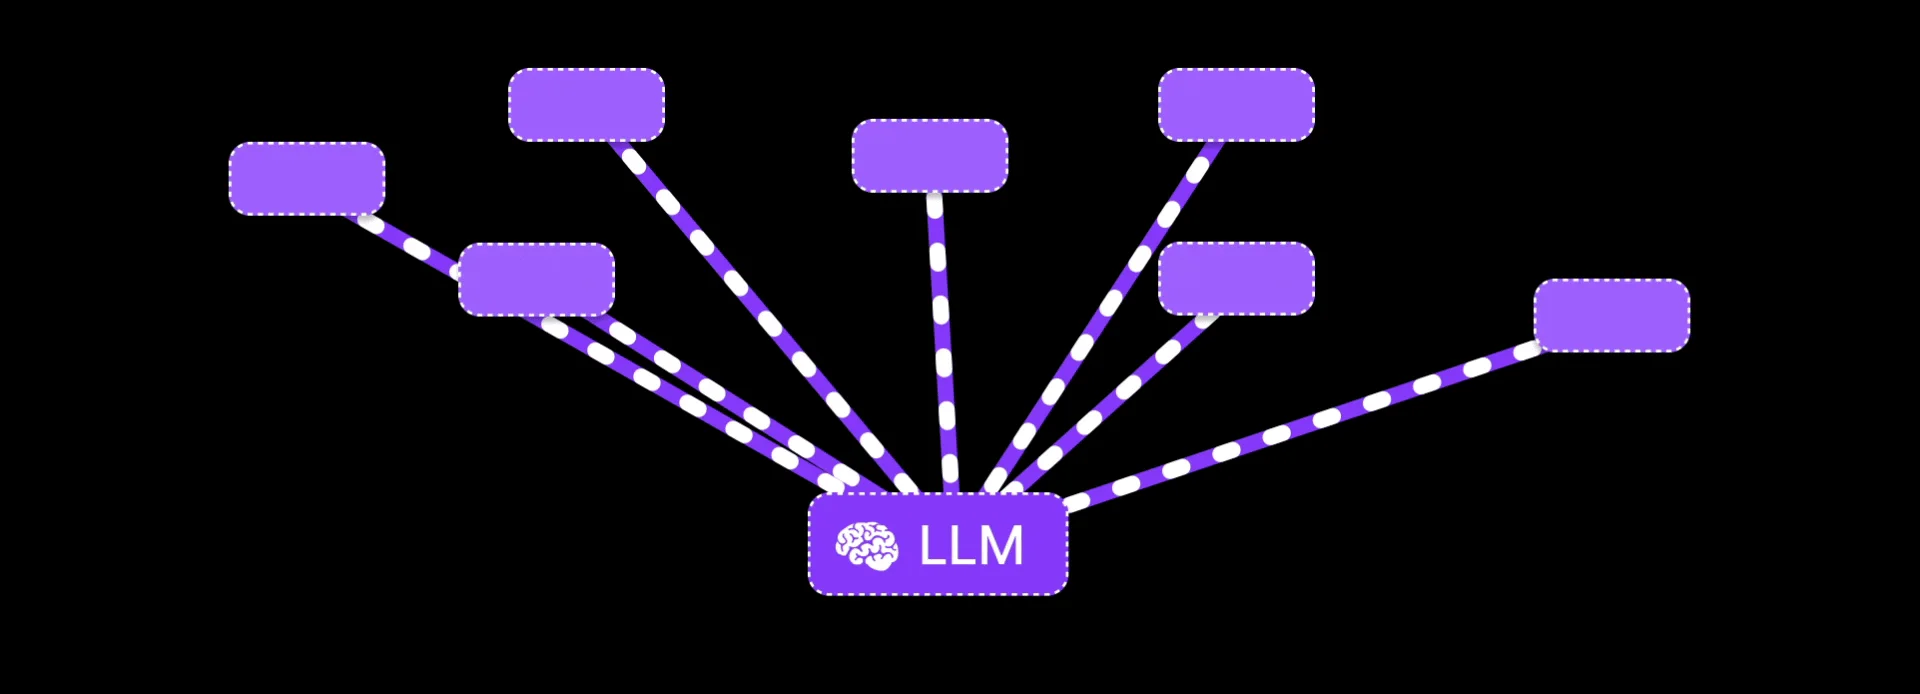
RAG stands for Retrieval-Augmented Generation which is a approach that gives LLMs access to external Knowledge sources at inference time.
Instead of relying only on what’s in its pretrained weights, the LLM now retrieves supporting documents first, then uses them to generate better answers.
Think of it like this:
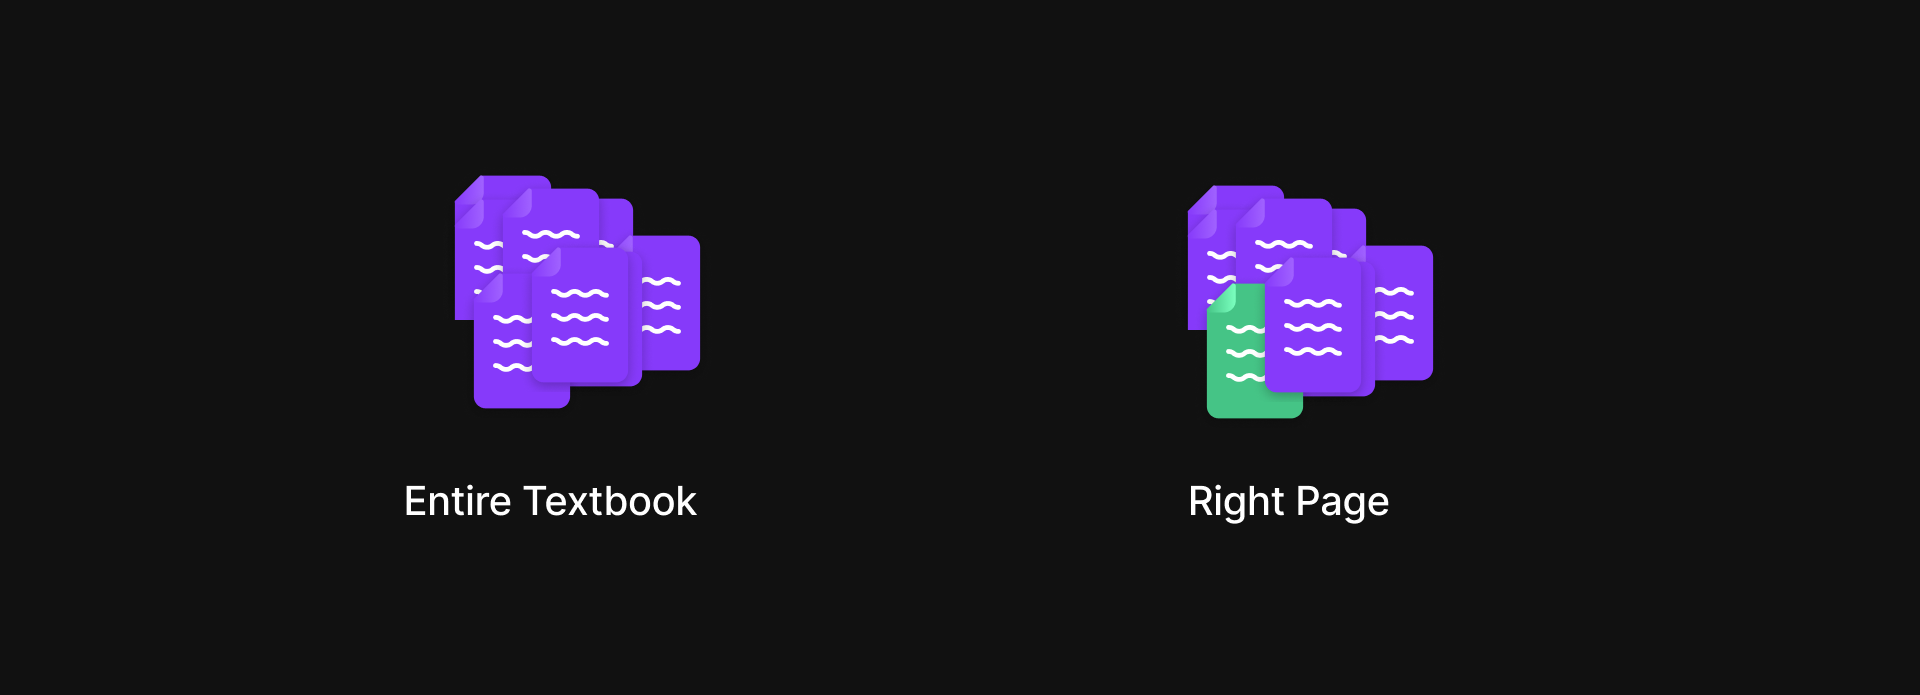
You don’t memorize an entire textbook—you flip to the right page before answering a question.
RAG Architecture
Now you know what is RAG, let’s break down the architecture of the RAG
It has three core steps
- Indexing
- Retrieval
- Generation
1. Indexing
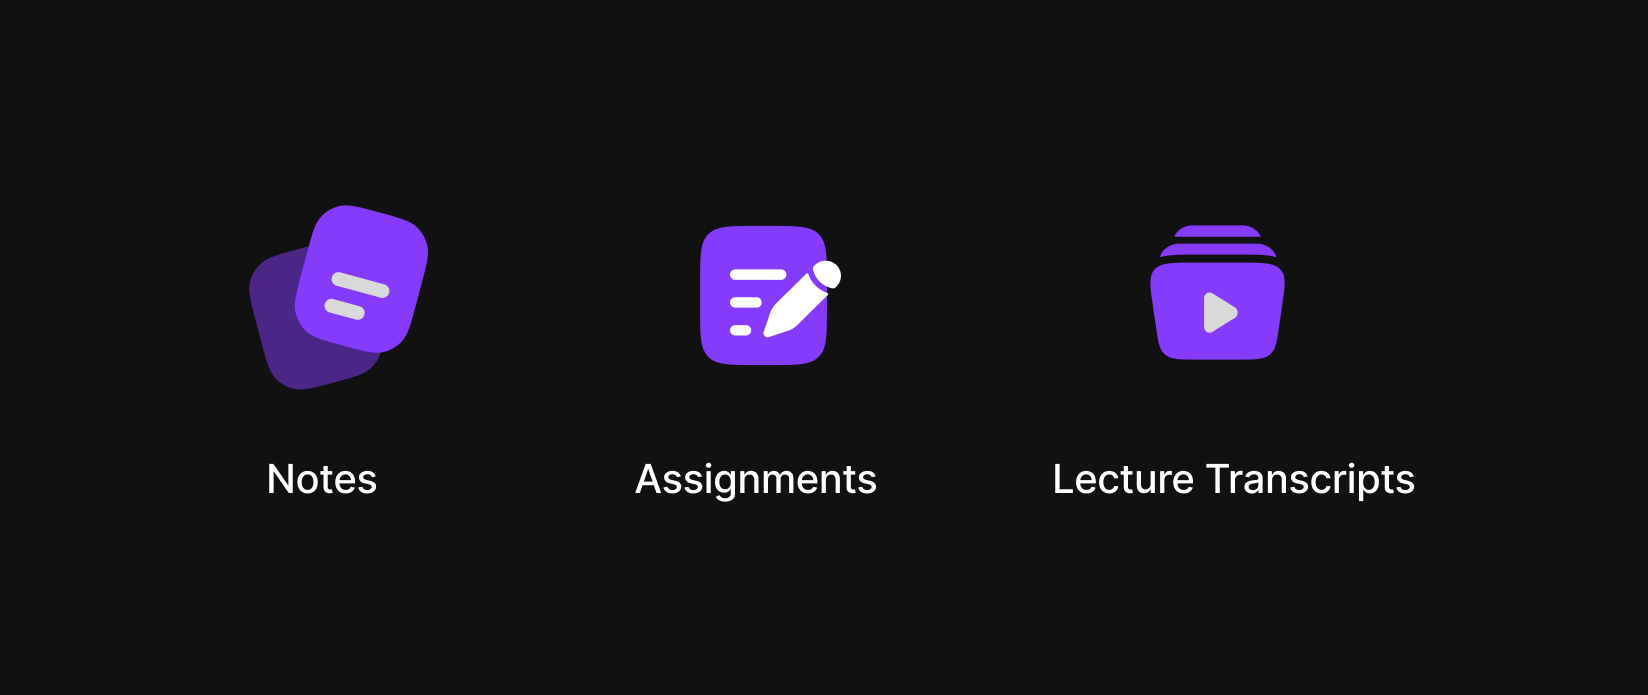
Imagine EduLeap's offline teachers have a giant cupboard full of notes,past assignments and lecture transcripts. All of this information is important, but when a student asks a question, the teacher doesn’t have time to sift through everything. So, they decide to organize it in a smarter way.
Here’s what the teachers did
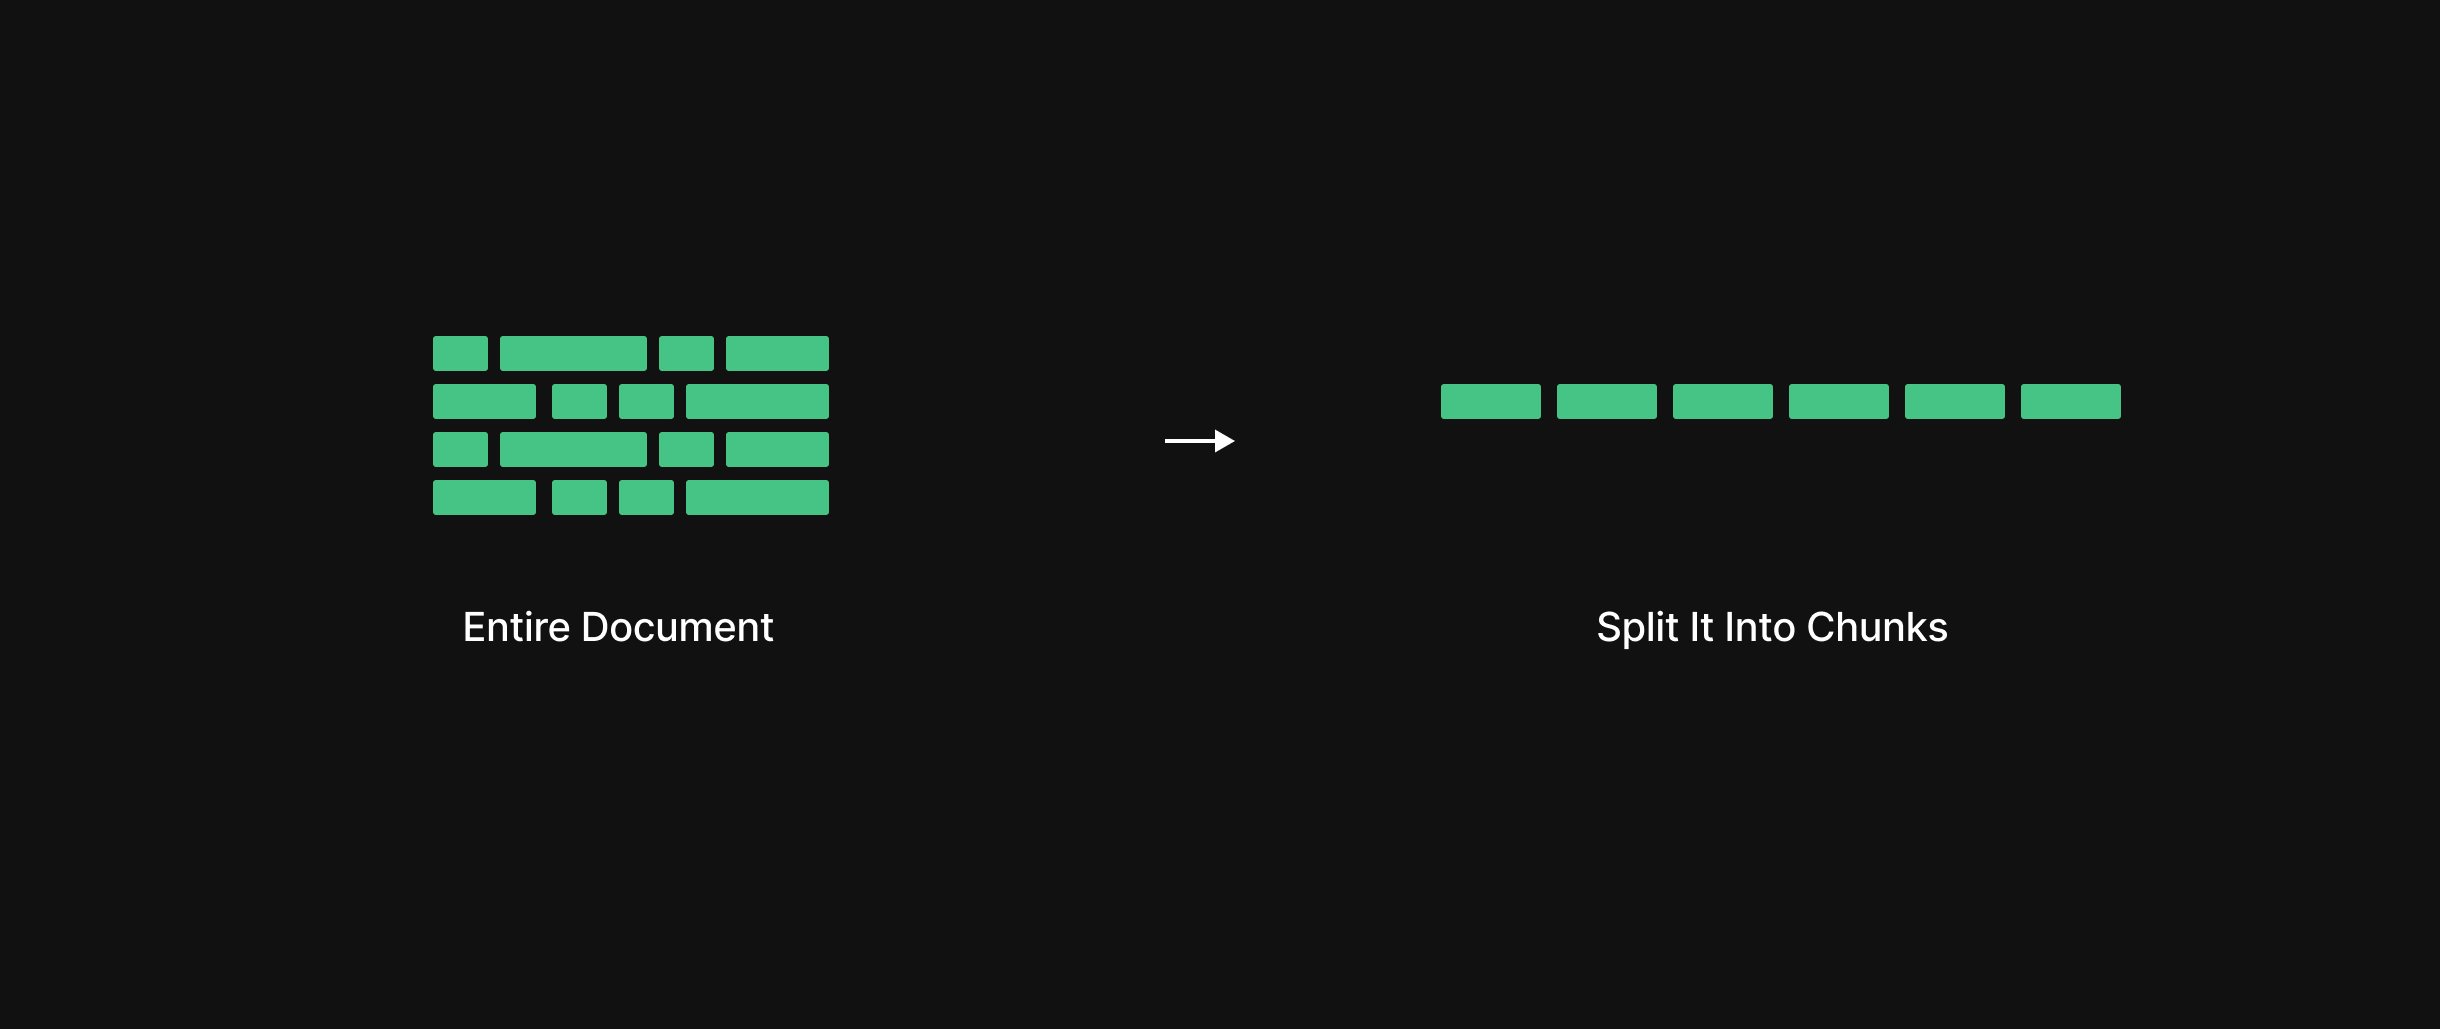
They converted the notes into a digital format and broke the documents into smaller chunks.

Instead of keeping entire lectures or chapters as one big blob, they sliced the documents into smaller, overlapping pieces — about 500 words each.
This way, if a student asks about just one concept, the system doesn’t have to look through the whole chapter, it can just zoom in on the relevant part.
After that the chunks are converted into numerical form (vectors).
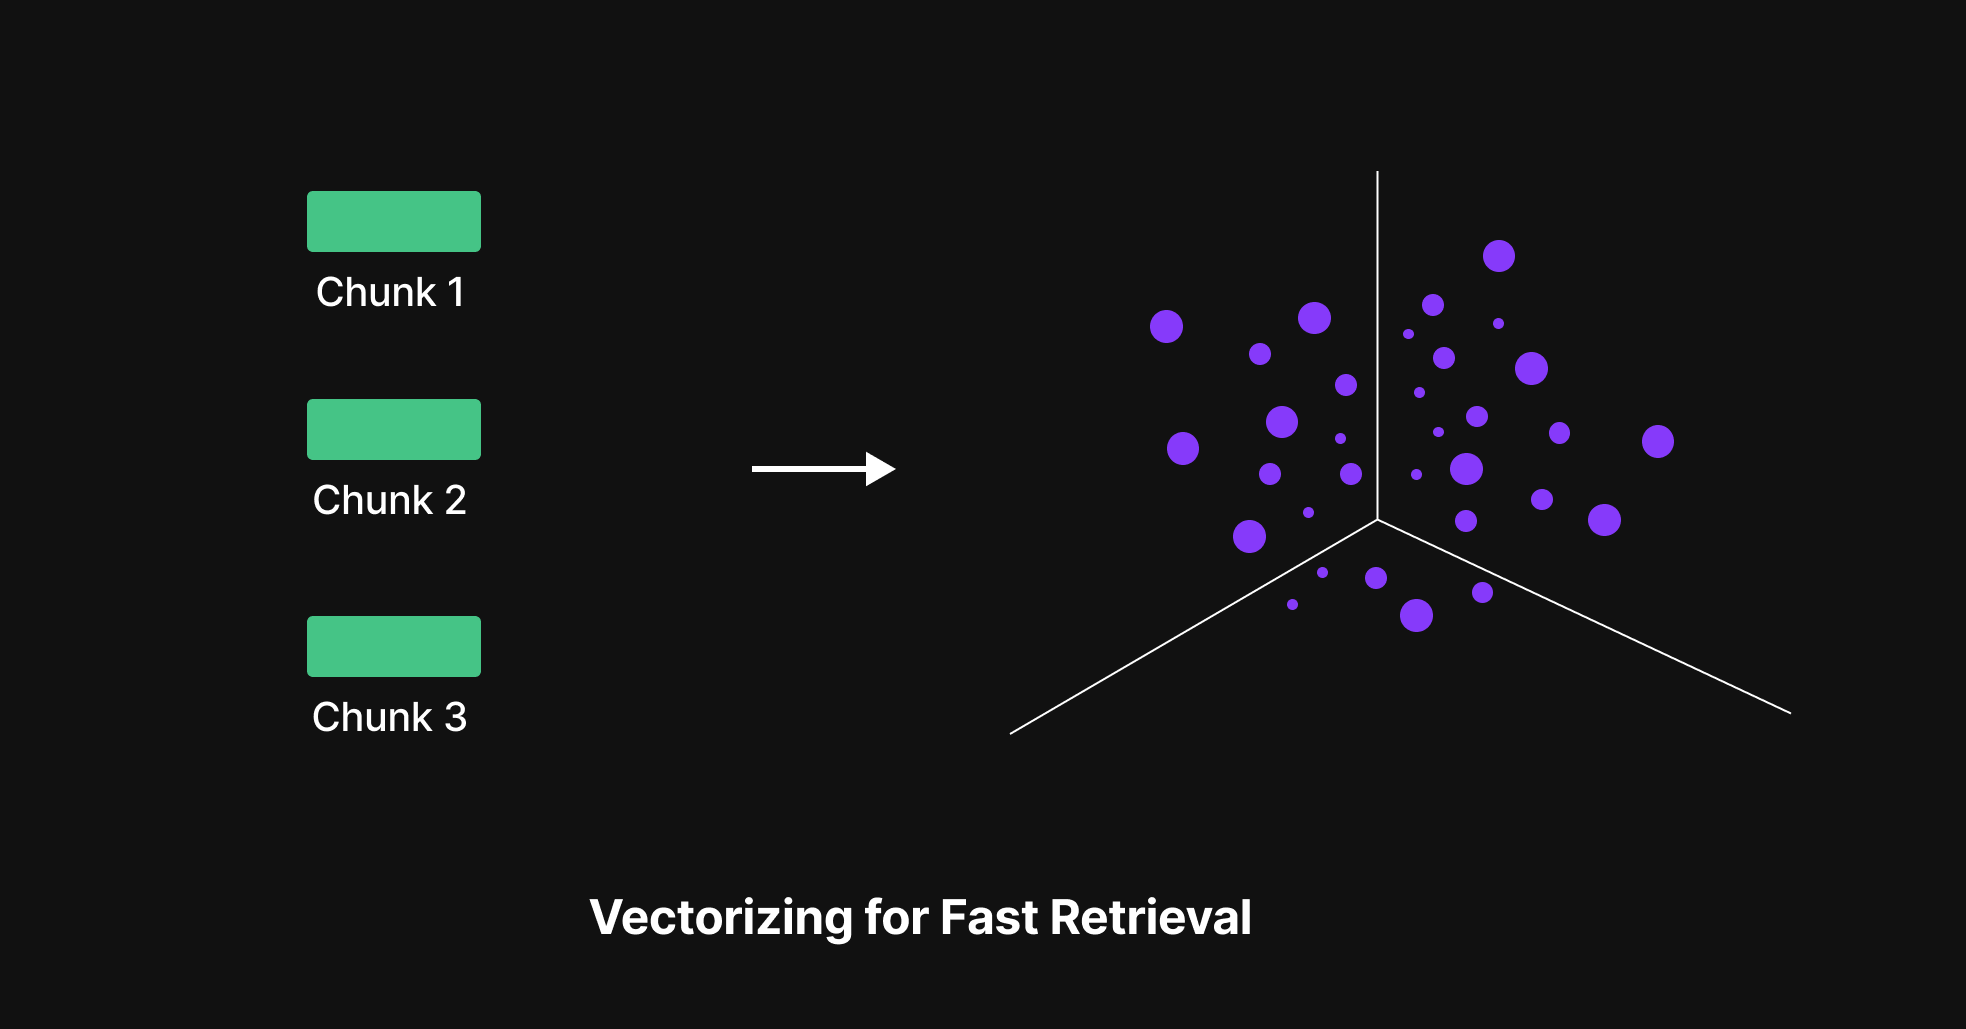
All these vectors (plus the original chunks) were stored in a Vector Database
This database doesn’t store things alphabetically or by topic, it stores them in semantic space, so it can quickly find which chunks are most related to any new question.
2. Retrieval
Now that EduLeap had organized its knowledge into tiny, searchable chunks, it was time to put that system to work.
Picture this:
So Mayank is a student who logs in the midnight, a few hours before the exam, and asks:
“How do I read a file in Python?”
In the old days, the AI tutor would try to remember the answer from its pretraining and often get it wrong, outdated, or too generic.
But now because of RAG, something smarter happens.
-
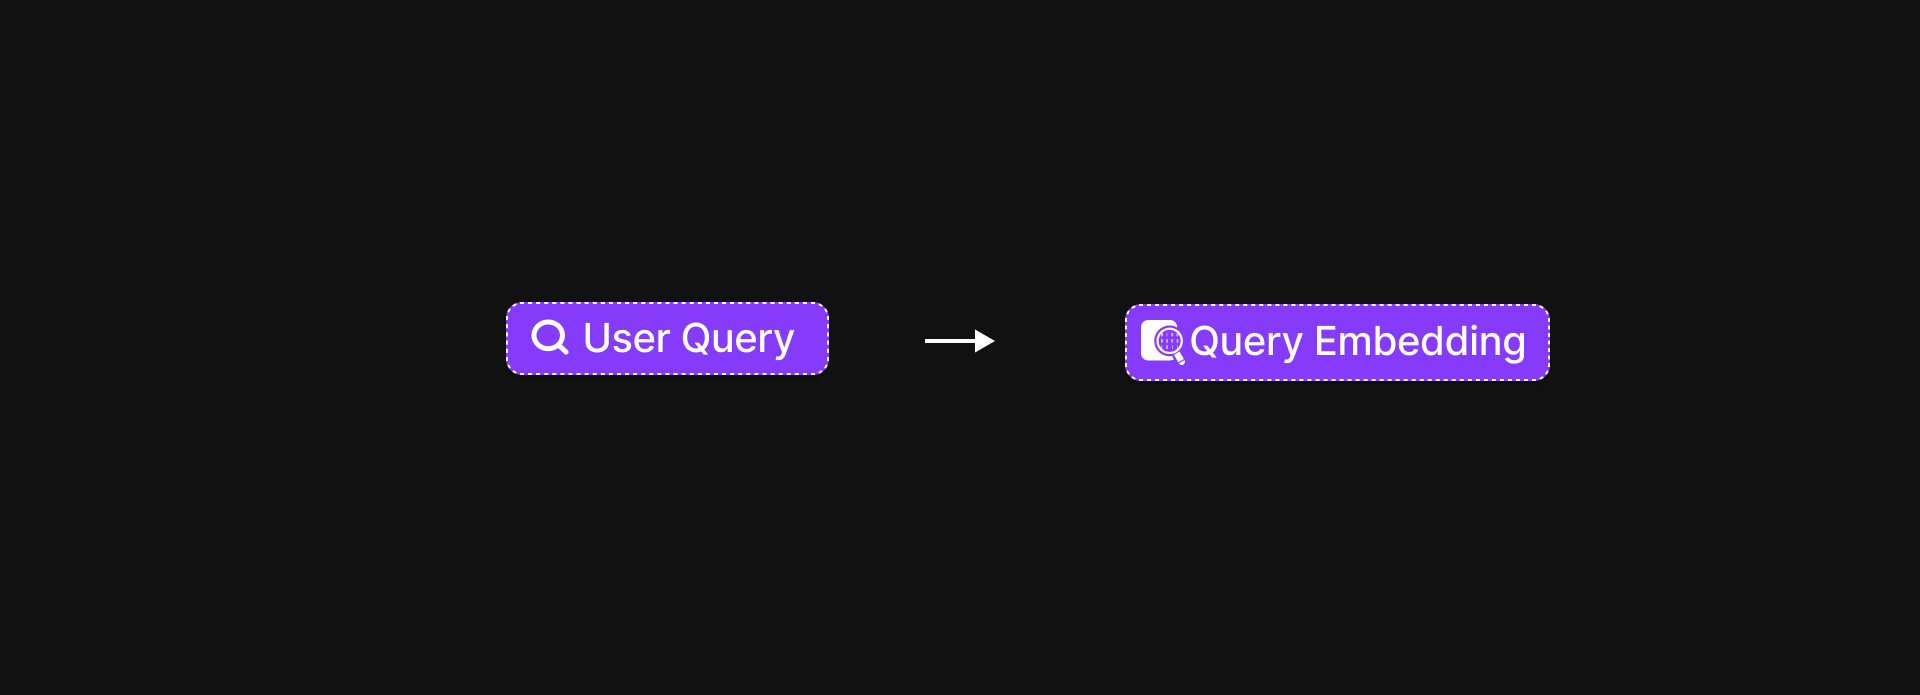
The AI takes the student’s query and turns it into a vector, just like we did for the course notes earlier.
-
It then dives into the vector database, looking for chunks that are most similar in meaning.
-
Using techniques like cosine similarity, it finds, say, the top 5 most relevant pieces of text
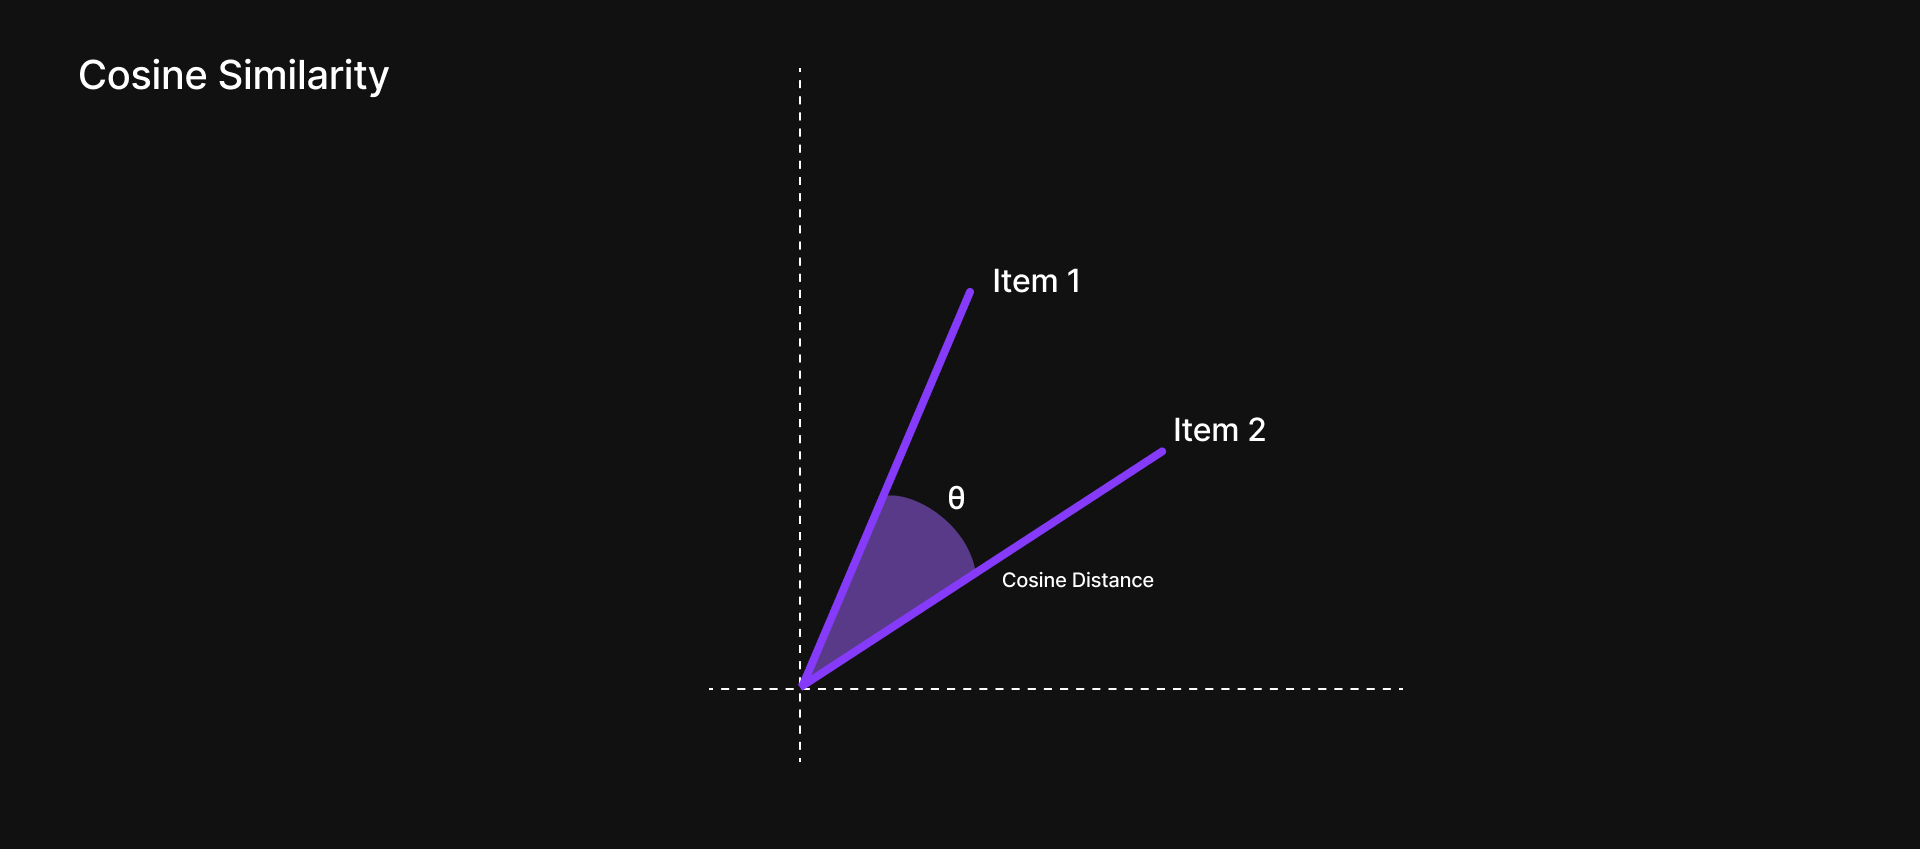
Maybe one chunk has an example using open(), another explains read(), and a third shows how to use with open() safely.
It’s like having a librarian who doesn’t just hand you a book but opens it to the exact paragraph you need.

3. Generation
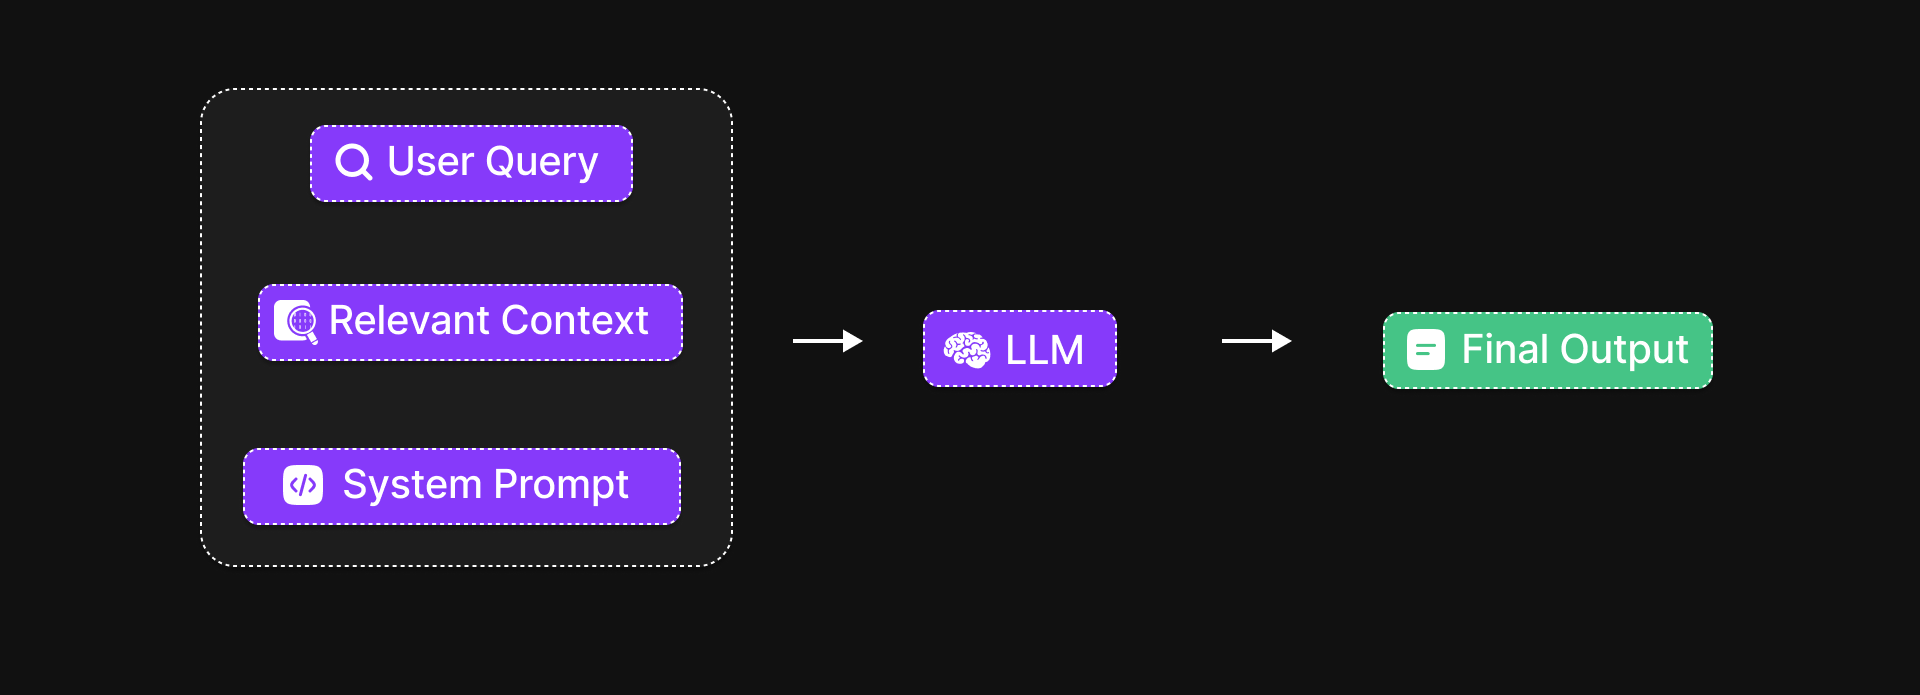
Once the AI has gathered those helpful pieces of information, it moves to the next step: crafting a response.
But this time, it’s not guessing or making things up.
Instead. the AI reads the student’s question alongside the retrieved chunks, and uses this real context to generate an answer.
RAG Pipeline using LangChain
We are building a question-answering assistant for EduLeap using LangChain. This pipeline reads 5 PDF files (course notes), breaks them into smaller chunks, generates vector embeddings, stores them in a Qdrant vector database, and retrieves relevant chunks to answer student queries using an LLM.
What Exactly is LangChain and Why Every Developer Loves It

Think of LangChain like a smart assistant builder kit.
Imagine you have this powerful brain, like ChatGPT, but you want it to do more. You want it to read your notes, search your PDFs, pull facts from the internet, or even talk to a database. Doing all that on your own can get really messy. Every AI model works a little differently, and keeping up with new ones is a challenge.

That’s where LangChain comes in. It’s like a toolbox that helps your AI connect with everything: files, APIs, databases. It works with any language model you choose. So instead of dealing with all the complicated setup, you can just focus on building cool and useful stuff.
Step 1. Install Required Python Libraries
Before running any code, make sure you have the necessary libraries installed. You can do this using pip.
pip install langchain langchain-community langchain-huggingface langchain-qdrant qdrant-clientsentence-transformers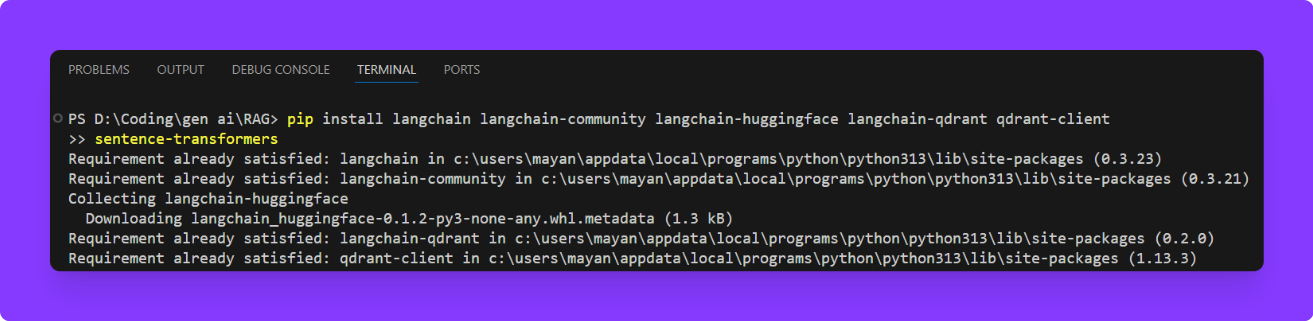
What these libararies do:
| Package Name | Purpose |
|---|---|
| langchain | Core framework for chaining LLMs with tool |
| langchain-community | Includes community loaders like PyPDFLoader |
| langchain-huggingface | Lets you use HuggingFace embedding models |
| langchain-qdrant | Integration layer between LangChain and Qdrant vector store |
| qdrant-client | Connects to and manages Qdrant database |
| sentence-transformers | Required backend for HuggingFace embedding models |
Step 2. Set Up Qdrant Using Docker
Qdrant is an open-source vector database used for fast similarity search. It's very easy to run locally using Docker.
-
Make sure Docker is installed and running.
- Install from: Docker Download
-
Run Qdrant container with Docker:
If you haven’t already, create a file called
docker-compose.db.ymland paste the following content inside:services: qdrant: image: qdrant/qdrant ports: - 6333:6333This file defines a single service called
qdrantusing the official Qdrant image and exposes it on port6333.Open your terminal, navigate to the folder containing
docker-compose.db.yml, and rundocker compose -f docker-compose.db.yml upto start the Qdrant container.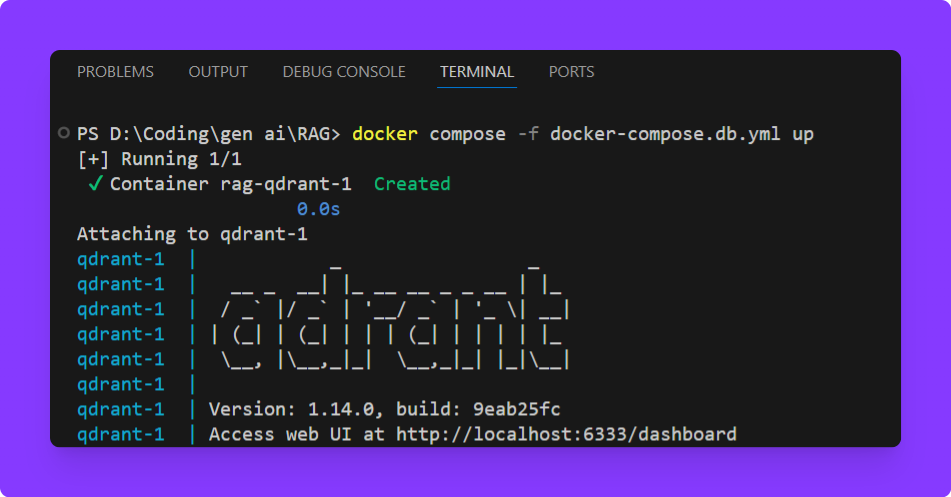
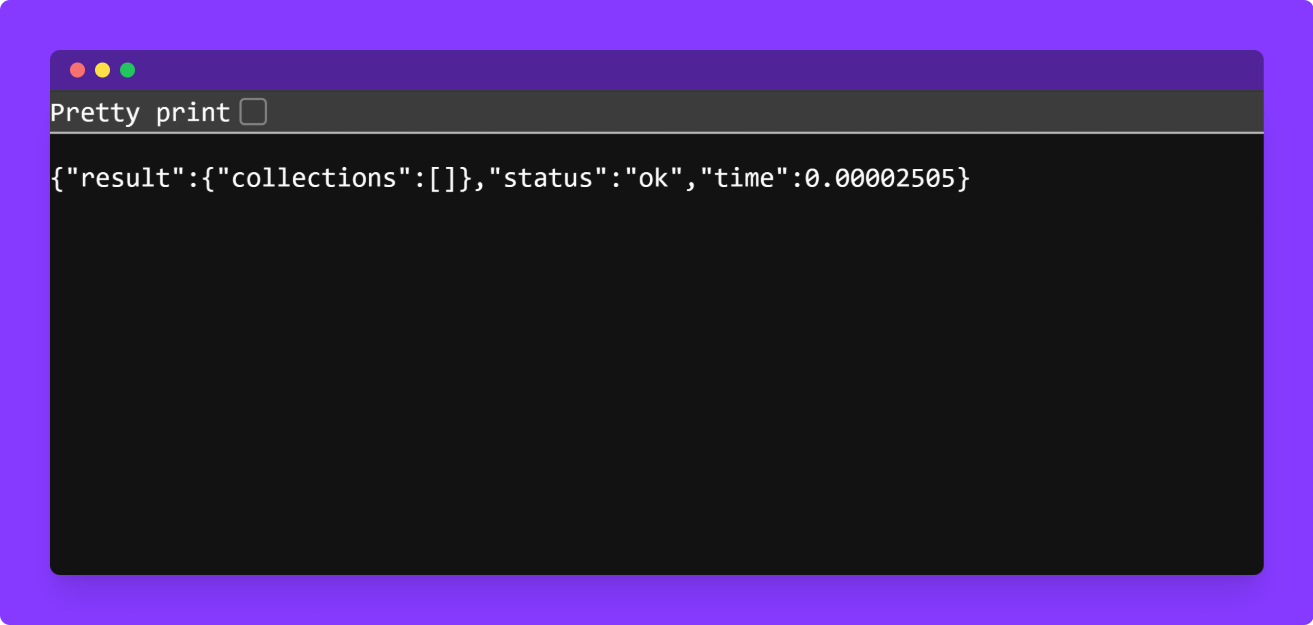
docker compose -f docker-compose.db.yml upAfter starting the Qdrant container, check the terminal logs for confirmation and verify it’s running by visiting http://localhost:6333/collections in your browser or using curl.
If it’s working, you’ll get a response like:
Create a new Python file by opening your code editor and saving a file with a
.pyextension, like [app.py].This file will contain all the code for loading PDFs, generating embeddings, and interacting with Qdrant.
3. Load and Split Multiple PDF Files
from pathlib import Path
from langchain_community.document_loaders import PyPDFLoader
from langchain_text_splitters import RecursiveCharacterTextSplitterPathis used to handle file paths.PyPDFLoaderloads the PDF file into LangChain-compatible document objects.RecursiveCharacterTextSplitterbreaks the text into smaller chunks for better retrieval later.
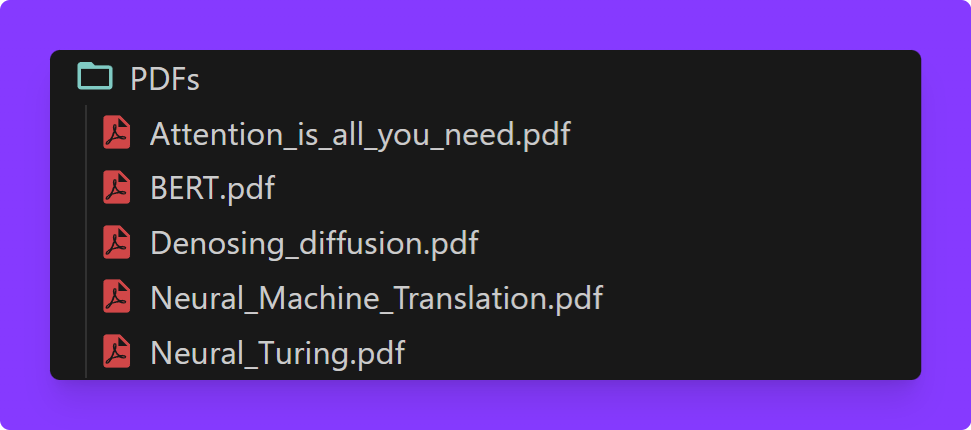
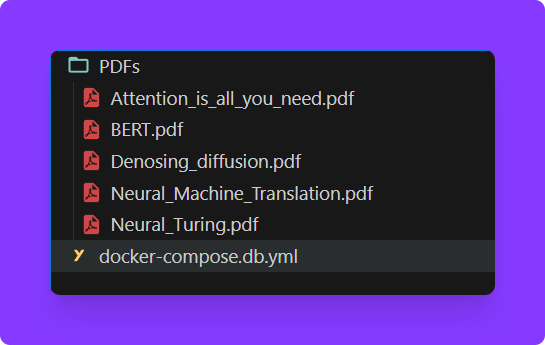
PDF_FILES = [
    "Attention_is_all_you_need.pdf",
    "BERT.pdf",
    "Denosing_diffusion.pdf",
    "Neural_Machine_Translation.pdf",
    "Neural_Turing.pdf"
]

text_splitter = RecursiveCharacterTextSplitter(
    chunk_size=1000,     # Each chunk is 1000 characters max
    chunk_overlap=200    # Each chunk overlaps with the previous one by 200 characters
)

all_chunks = []

for file_name in PDF_FILES:
      pdf_path = Path(__file__).parent / "PDFs" / file_name
    loader = PyPDFLoader(file_path=pdf_path)
    docs = loader.load()
    split_docs = text_splitter.split_documents(docs)
    all_chunks.extend(split_docs)
We’re loading five PDF documents and splitting each one into smaller, overlapping chunks, similar to creating flashcards for easier reference. These chunks are then combined and stored in a single list called all_chunks, which will later be used to generate embeddings for semantic search.
Step 4. Generate Embeddings Using OpenAI
from langchain_openai import OpenAIEmbeddings

embedder = OpenAIEmbeddings(
    model="text-embedding-3-large",
    api_key="your-openai-api-key"  # Replace with your actual API key
)
This code utilizes OpenAI's embedding model to transform each text chunk into a vector - a numerical representation capturing the semantic meaning of the text. These vectors are essential for performing similarity searches, allowing the system to retrieve relevant information based on the context of a user's query.
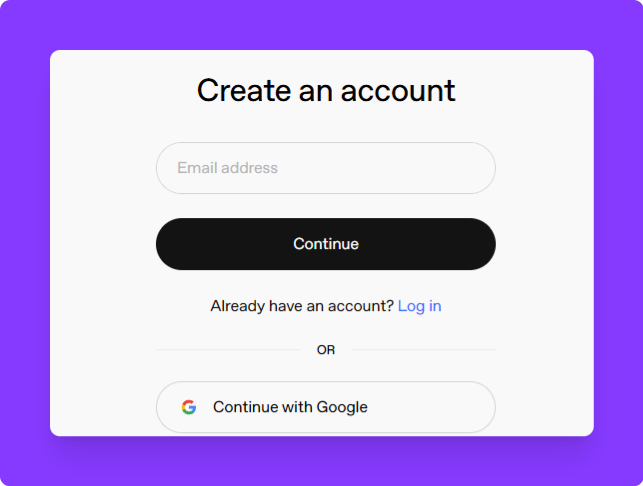
If you don't have an OpenAI API key yet, here's how to obtain one:
-
Create an OpenAI Account: Visit OpenAI's platform and sign up using your email address
-
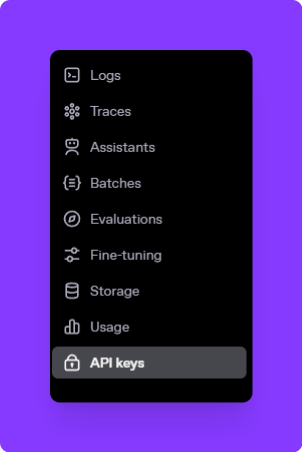
Access the API Keys Section: After logging in, click on your profile icon in the top-right corner and select "API Keys" from the dropdown menu.
-
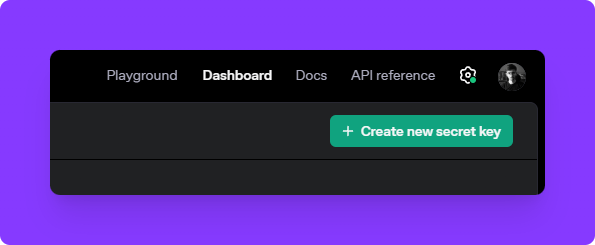
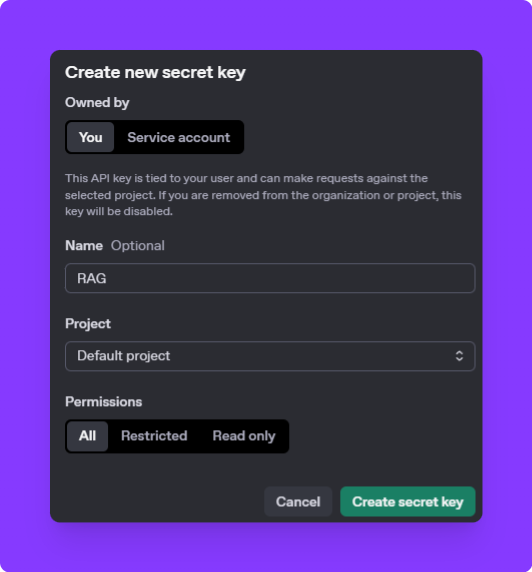
Generate a New API Key: Click the "Create new secret key" button. A new API key will be generated—make sure to copy and store it securely, as you won't be able to view it again.
-
Set Up Billing: Navigate to the "Billing" section to add a payment method. OpenAI requires a valid payment method to activate API usage.

Step 5. Store Embeddings in Qdrant (Vector DB)
You can create a separate db.py file.
I haven't exposed all_chunks and embeder in app.py, but you'll need to do so to use them here. Also this part should be run only once
from langchain_qdrant import QdrantVectorStore
from app import all_chunks, embedder
# This part should be run only once
# It stores all the chunks and their embeddings into Qdrant
 #You can comment this after the first run

 vector_store = QdrantVectorStore.from_documents(
     documents=all_chunks,
     url="http://localhost:6333",
     collection_name="learning_langchain",
     embedding=embedder
 )

print("Documents injected into Qdrant collection.")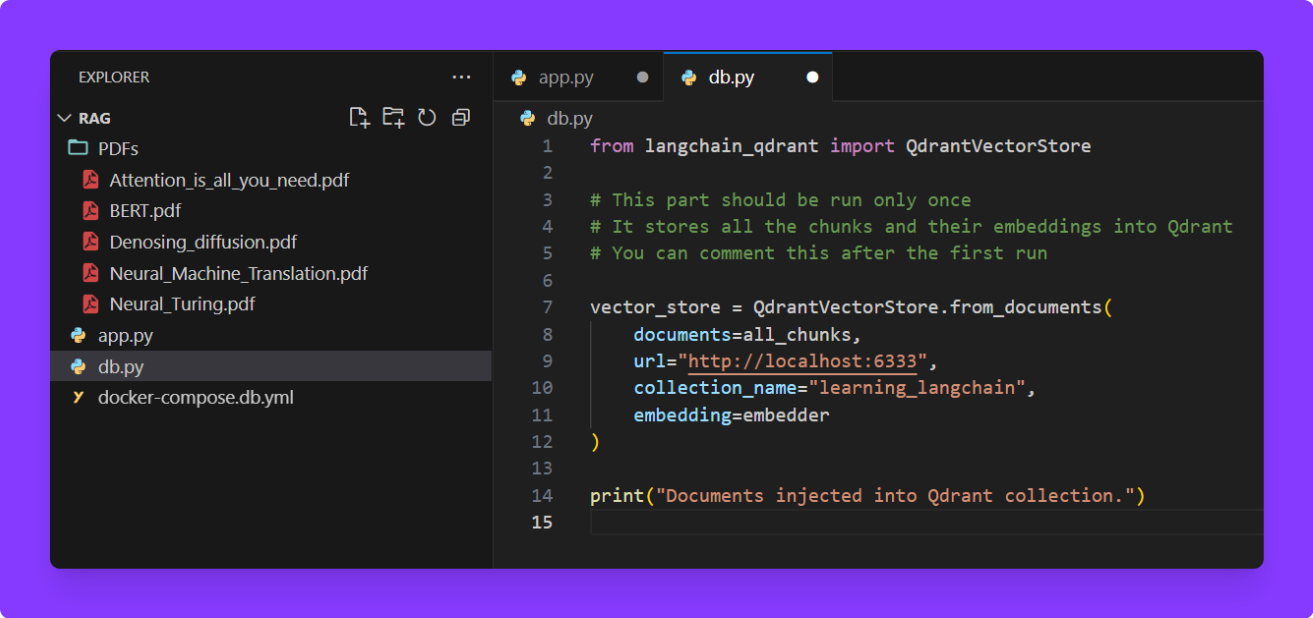
What’s going on in this code
-
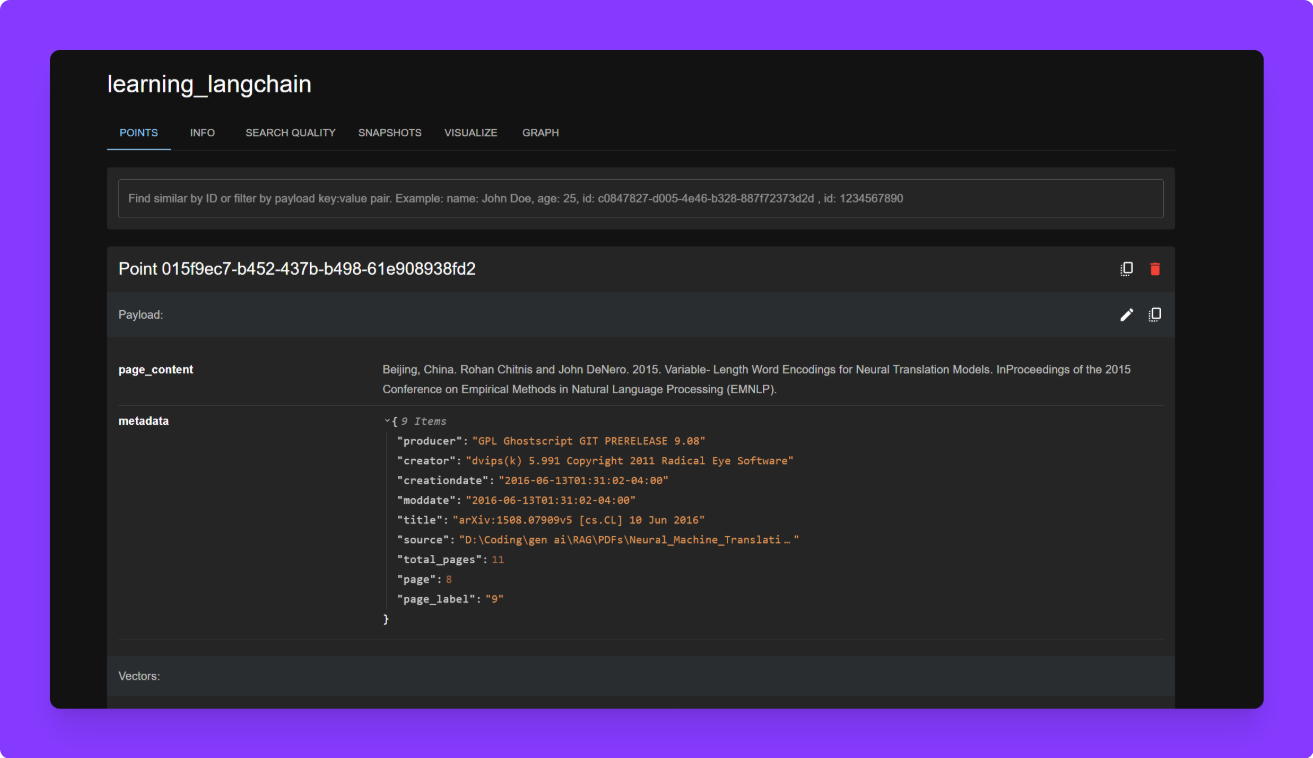
This code saves the embedded chunks into a Qdrant collection.
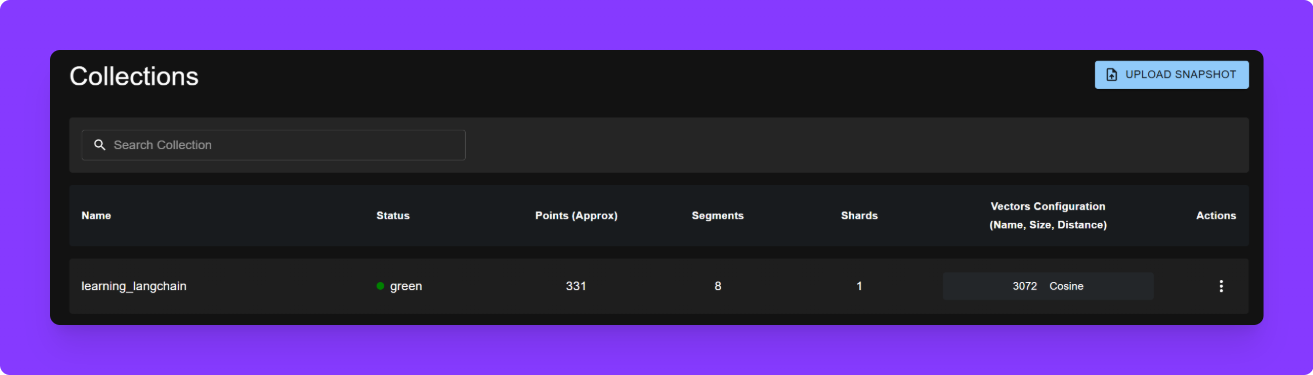
collection_name="learning_langchain"is just a label you can change. -
Qdrant will store these vectors and let us search them later.
Step 6. Search for Relevant Chunks (Retrieval)
retriever = QdrantVectorStore.from_existing_collection(
      url="http://localhost:6333",
      collection_name="learning_langchain",
      embedding=embedder
  )

  query = "What is FS Module?"
  search_result = retriever.similarity_search(query=query)
This part of the code connects to the existing Qdrant vector database where all the document chunks are stored. When a user asks a question, the query is converted into an embedding in the same way the document chunks were. Qdrant then compares this query embedding with all the stored embeddings and finds the chunks that are most similar in meaning, making it easy to retrieve the most relevant information.
Now Let’s printout the relevant chunks
  for i, chunk in enumerate(search_result, 1):
      print(f"\n--- Chunk {i} ---\n{chunk.page_content}")
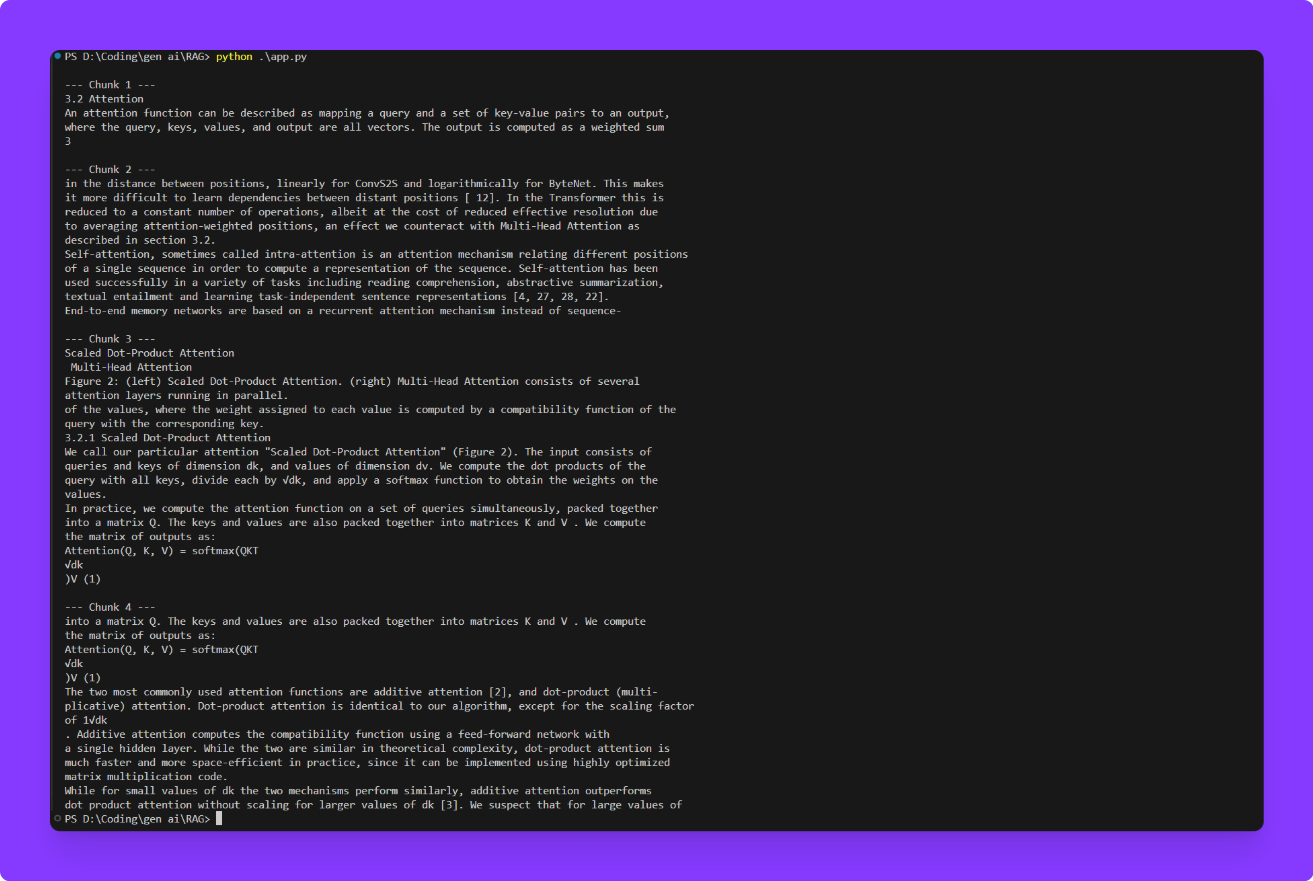
The retrieved text chunks related to the user's question are printed out. These chunks represent the most relevant sections from your PDFs, helping the system provide accurate and context-based answers by focusing only on the parts that closely match the user's query.
Once the most relevant chunks are retrieved from the vector database, they are combined with a system prompt and passed to the language model. This helps the LLM generate a response that is not only fluent and well-structured but also grounded in the actual content of your PDFs, reducing hallucinations and improving accuracy.
You can check out the Entire code on Github:
https://github.com/Mayankpratapsingh022/RAG_Qdrant_DB/
Final Thoughts
Retrieval-Augmented Generation (RAG) is a powerful technique that makes AI models smarter by letting them look things up instead of relying only on what they were trained on.
Instead of asking a language model to remember everything, RAG gives it access to external sources like PDFs, websites, or databases. The process starts by loading documents (like course notes) and breaking them into smaller, readable chunks. These chunks are then converted into numerical vectors using embeddings, which capture the meaning of each chunk. The vectors are stored in a fast search engine like Qdrant.
When a user asks a question, the system searches for the most relevant chunks, retrieves them, and feeds them into the language model to generate a grounded and accurate answer. In short, RAG combines the reasoning ability of LLMs with the precision of search — making answers more factual, up-to-date, and context-aware.
I hope you found this blog helpful. I'm continuously sharing my learning journey and projects around LLMs, MLOps, and machine learning. If you're exploring these areas too, feel free to connect.
let’s learn and grow together at our own pace.
Find Me on
That’s it for today